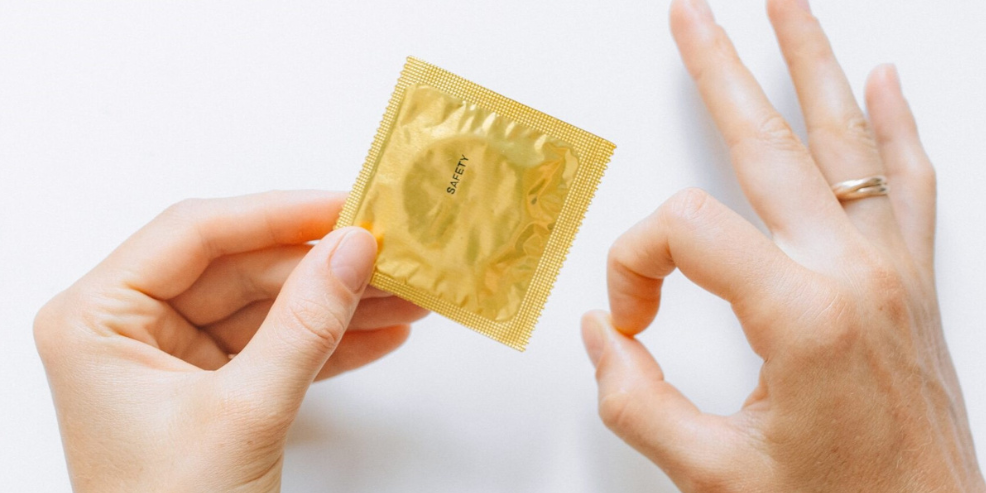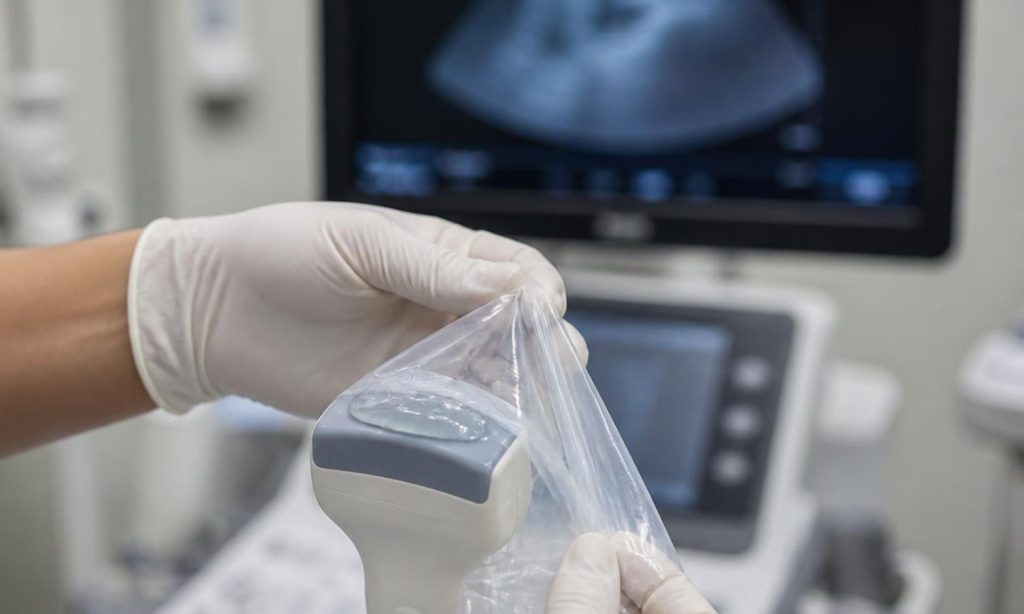
Sonographers and clinic managers sometimes hesitate over probe covers for one reason: adding a barrier between the transducer and the patient seems like it should degrade the image. In practice, a properly chosen and properly applied cover has very little effect on image quality. When images do suffer, the cause is almost always air trapped under the cover, too little gel, or a poor fit, not the cover material itself. This guide explains how to avoid each of those problems.
Why Air Is the Real Problem
Ultrasound waves travel well through soft tissue and gel but very poorly through air. Any pocket of air between the transducer face and the probe cover, or between the probe cover and the skin, reflects the sound waves instead of passing them on. On screen this appears as shadowing, dropout, or bands of noise beneath the affected area.
The cover itself is a very thin, elastic layer. When it sits in full contact with the probe and the gel, it typically adds negligible attenuation. That is why the focus should be on eliminating air rather than avoiding probe covers.
Gel Placement: Inside and Outside the Cover
Good coupling is needed on both sides of the cover, so gel matters in two places:
- Inside: apply a generous amount of water-based ultrasound gel to the face of the transducer, or use a pre-lubricated probe cover, before unrolling the cover over the probe.
- Smoothing: once the probe cover is on, gently smooth it from the transducer face towards the handle to push out trapped air and bubbles.
- Outside: apply gel to the outside of the probe cover, or to the patient’s skin, so the covered probe couples properly with the tissue.
- Technique: pour gel slowly, since fast squeezing introduces bubbles, and avoid oil-based or petroleum-based products that can weaken latex.
Getting the Fit Right
Fit affects both image quality and reliability. A probe cover that is too loose bunches into wrinkles and folds across the transducer face, creating air pockets. One that is too tight is overstretched, which thins the film and increases the chance of a tear during use.
- Match the probe cover’s width and length to the probe, leaving enough length to cover the handle and part of the cable.
- Check that the probe cover lies flat across the face with no folds before starting the scan.
- Secure it if needed, and follow the manufacturer’s instructions for the type of cover in use.
- Inspect for tears or leaks. A damaged probe cover defeats its purpose and can also trap air.
Fit and Gel Tips by Probe Type
Different probes have different shapes and different infection-control needs, so the right probe cover and technique vary. The points below are general guidance, and the probe manufacturer’s instructions and your facility’s infection-control policy always take priority.
- Transvaginal (endovaginal) probes: these are slim, high-frequency endocavity probes. Use a snug, wrinkle-free rolled probe cover, gel inside the tip, and gentle smoothing from the tip towards the handle.
- Transrectal (endorectal) probes: these are used for prostate and rectal imaging and are often longer and firmer. Choose a probe cover with enough length and strength, and take extra care if a needle guide is attached for biopsy, as it can catch and tear thin film.
- Curved array (convex) abdominal probes: the wide, curved face traps air easily. Use a larger probe cover or sheath, add gel to the whole face, and smooth outwards from the centre.
- Linear probes for vascular access, nerve blocks, and musculoskeletal work: these usually need a longer sterile cover with a flat, tight face, since the fine detail they show is easily disturbed by wrinkles.
- Transoesophageal echo (TOE) and intraoperative probes: these are specialist probes that generally need purpose-made sheaths or sterile covers rather than standard rolled probe covers.
Material and Thickness
Natural rubber latex is widely used for probe covers because it is thin, stretchy, and conforms closely to the probe. Consistent film thickness matters, since thin spots weaken the cover and thick spots can affect fit. Clinics with patients or staff who have latex allergies need non-latex options, and our guide to latex allergy symptoms and alternatives explain the trade-offs.
Quick Troubleshooting Checklist
- Dark shadows or dropout under part of the image: check for trapped air and re-smooth the cover.
- Noisy or patchy image: add more gel between the cover and the transducer face, and between the probe cover and the skin.
- Persistent artefacts: remove the cover, check for damage, and fit a new one.
- Image still poor after a new probe cover: check the transducer, preset, and frequency settings, as the cover may not be the cause.
Probe Covers Are Part of Infection Control, Not a Replacement
A probe cover reduces the risk of contamination between patients, but it does not replace proper cleaning and disinfection of the probe between uses. The right level of protection depends on the procedure, and our posts on why hygiene barriers matter in diagnostic imaging and sterile vs non-sterile probe covers can help clinics decide which type to use.
Nulatex manufactures probe covers in Malaysia under an ISO 13485 quality system, supplying OEM and private-label partners worldwide. Clinics and distributors can request samples to test fit and image performance on their own equipment.